In this article I will show you how to install Talend Open Studio on Windows.
We will not only talk about it. I will show you what you have to do. And we will do that together.
Necessary Installation Steps for Talend Open Sudio on Windows
To install Talend Open Studio on your machine, you need to have Java installed. So we check if Java is present and install it, if necessary. That’s the first step. In a second step would install 7-zip, if you don’t have that yet. And the third step is downloading, un-zipping and starting the executable for Talend Open Studio.
For all this we’re going to use these these different download links:
- Java For Talend: https://help.talend.com/r/en-US/8.0/installation-guide-windows/compatible-java-environments
- Zulu JDK: https://www.azul.com/downloads/?package=jdk#zulu
- 7 Zip: https://7-zip.org/download.html
- Talend Open Studio: https://sourceforge.net/projects/talend-bigdata/
You don’t have to remember them. Further down we’ll come across them again.
So now it’s in demo time. Let me head over to my virtual machine.
Here I’ve got a small version of the necessary steps already.
Installing Java
We’re going to start with this one. I’m on a Windows box where no Java is installed.
You can check by going to your Windows start button and then type “cmd” to open a command prompt.
And here you type:
java -versionThen you either get the message that it’s not recognized, if it’s not installed or not on your PATH. Or you get another Java version then the one which is recommended for Talend.

The Recommended Java Version for Talend Open Studio
The Java version recommended for Talend, which is taken from this link, from the official prerequisites for installing Talend Open Studio, is this one here.
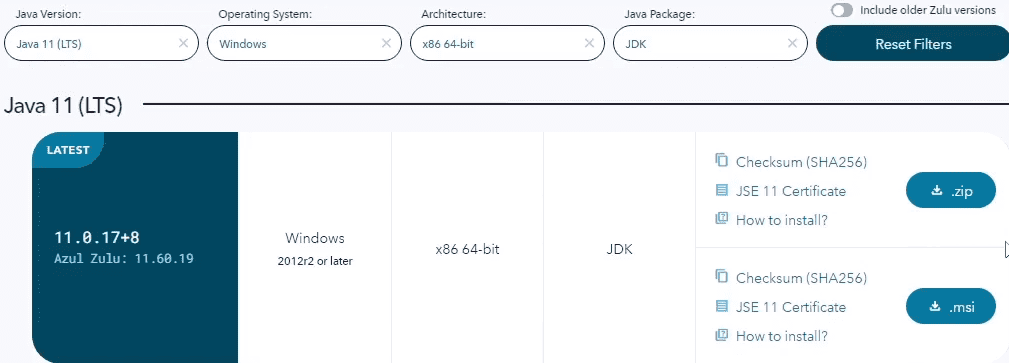
And if you want to install Java, the easiest way is to take OpenJDK from Zulu. So just click on this link.
Now down here I select “Java 11”, for my operating system “Windows” and the “64-bit” version.
Now I’m having two alternatives. I download the “.msi” installer to this machine.
So you can see here I’ve already got this in my “Downloads” folder.
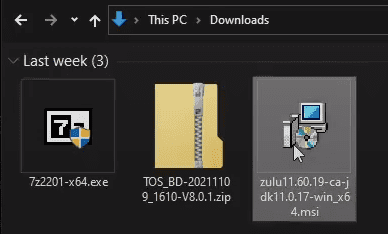
So I just double click it, go to “Next”, again to “Next” and with the default configuration click “Install”.
Then give it permission. And it’s pretty quick to do all that. After a few seconds it’s already finished.
Verifying the Java Installation
If you now re-run this command here, you may still not get the desired output. Why? Because you have to open the terminal again.
So open a new command prompt window and again type
java -versionThis time you should get the desired output here, which is OpenJDK 11.
That’s fine.
Installing 7-Zip
So we can go to the next step, which is installing 7-Zip. Also for 7-Zip there is a download page, which is this one.
There you grab the corresponding Windows executable. I already have this in my “Downloads” directory, the .exe file.
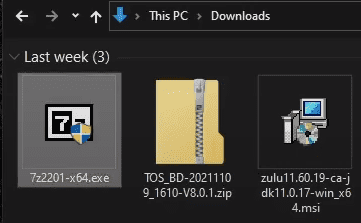
So I double click it, give permission here, click on “Install” and that’s it. Super quick.
Download Talend Open Studio from sourceforge.net
The third step is to download Talend Open Studio from this link.
Once you’re on this page, go to “Files”. Then click “Talend Open Studio for Big Data”.
There take the latest version that does not have a “M” in its name, because those are Milestone versions. They might be less stable then the other ones.
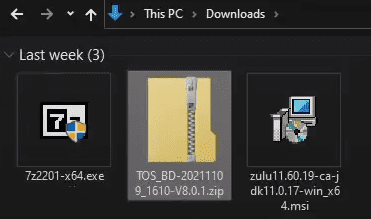
So I take the 8.0.1 here. Then I get the possibility to download a .zip archive. You can see it’s around 1GB, so it might take a moment to download to your machine.
Extract Talend Open Studio
Now I right click this archive and select 7-Zip and go for “Extract here”. This will inflate it inside this folder.
Also the extraction process may take a moment.
And once this is done, I will move the resulting folder to another place where I prefer to have it, for example the C drive.
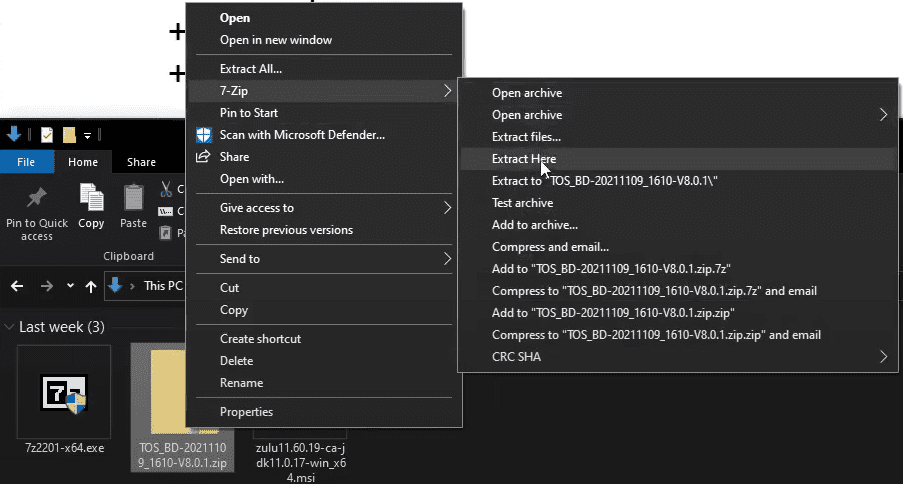
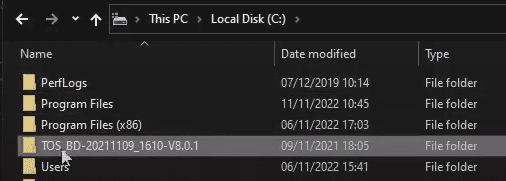
Now this archive is extracted. I’ve got the folder with the corresponding name and I can just use [Ctrl] + [X] to cut it here, and paste it with [Ctrl] + [C] at the top level of my C drive.
Starting the Windows executable for Talend Open Studio
So you see, I’ve got a folder here starting with the name “TOS_BD” and the version number 8.0.1 at the end.
Now let’s go inside this folder. This Windows executable, this .exe with the Talend icon on it, is what I double click to start Talend Open Studio.
Create “workspace” folder for Talend Open Studio
What we’ve done up to now are the first two steps to install Talend Open Studio. Right now it’s time to create a folder called “workspace”, which is not inside this Talend Open Studio folder, but next to it.
So I also create a new “workspace” folder, because I prefer to have my project items separate from the Talend Open Studio folder.
Accept License and Configure Workspace Connection
After “I Accept” the license, we’re going to “Manage Connections”.
Now I also want Talend to use this workspace folder, that I have. So I select it and click OK.
After this I click “Restart” for my Talend Open Studio, to connect to this workspace folder.
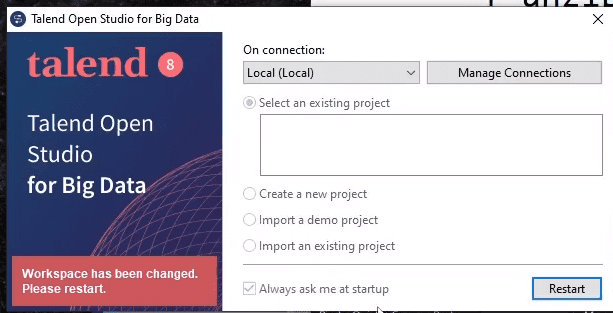
Once I have this, I again go to “Manage Connections”, to put a nice email address here, because I cannot change the email address anymore once I’m wokring inside Talend Open Studio.
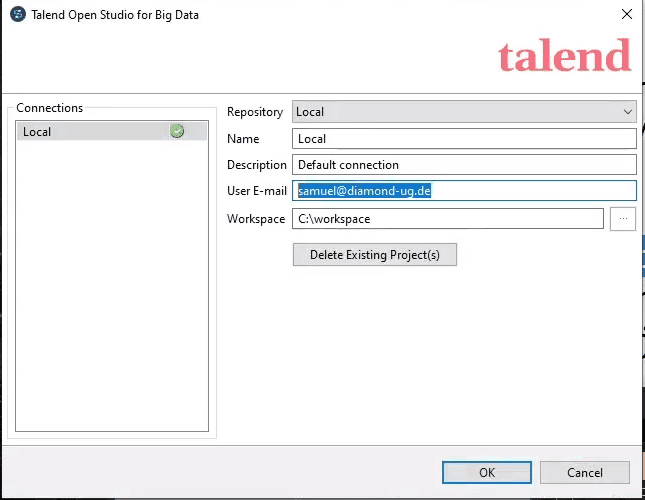
So I’m using my work email address and my custom workspace. Then I click “OK”.
And now before I leave this window, I un-check this box
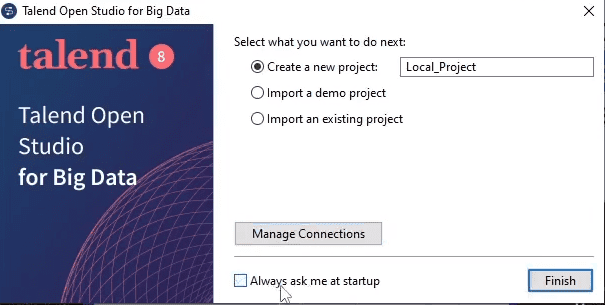
So the next time I’m automatically starting into the project, that I’m going to create here.
Create a project
The only thing left is to create a project. Let’s call that “talendBasics” and hit “Finish”.
So Talend Open Studio will now start completely and create this empty project for me, loading all the necessary components.
This may take a while.
Install required external libraries
There are only two things left to do. W’re going to install the external libraries that Talend needs, that cannot be packaged into Talend itself. And we’re going to create a simple job.
Talend will open a new browser tab here as well with extra resources. I don’t need that. So I just close it. The same with the Welcome wizard. I will just close this.
Now I will wait a few seconds for another window to pop up. It is titled “Additional Talend packages”, “Choose the features to install”.
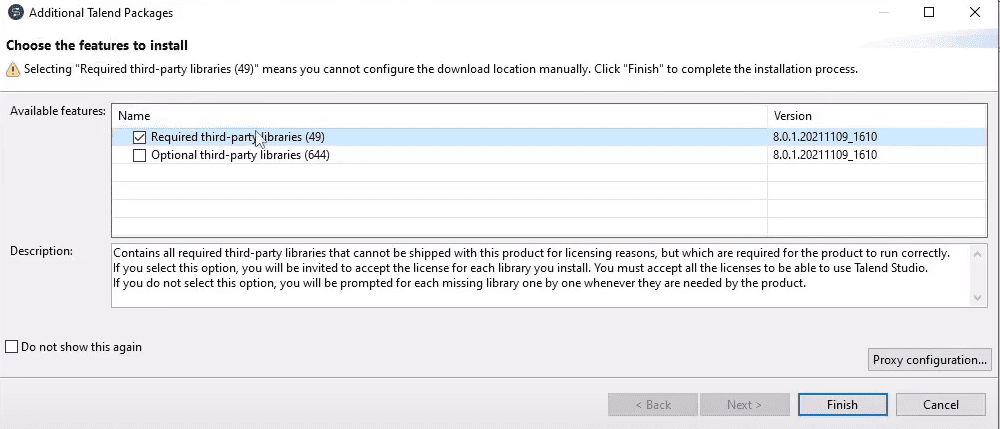
Leave it checked the way it is, so that the “Required third-party libraries” will get installed. At the bottom left click “Finish”. For this installation to succeed, I select “I accept” and then here click on “Accept all”, so Talend can go ahead and install all the libraries that it needs to be able to run.
Creating a simple ETL test Job
In the meantime we can right click on “Job Designs”, here on the top left side in the “Repository”, and create a job called “demo”.
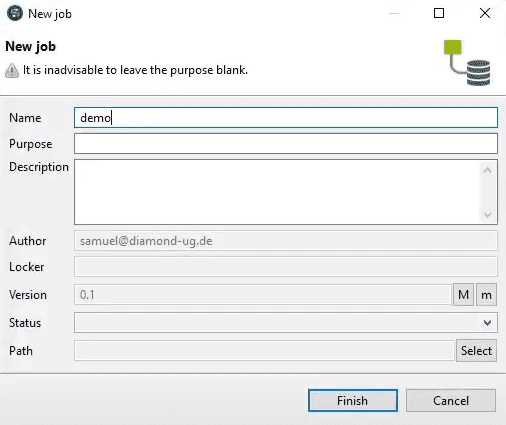
Once you provide at least the name, click on “Finish”.
This causes the “Designer” to open. This is where you build integration jobs.
We will just add one simple component there, that will show a pop-up window. This component is called “tMsgBox”.
To find a component, you go to the right hand side, to the “Palette” and type “msg”, a part of the name.
Then you can drag & drop that into your job.

If you want to see the settings, double click the component icon, which will take you to the “Component” tab to “Basic settings”.
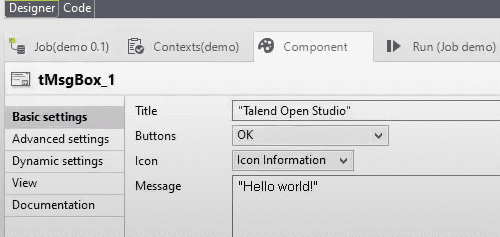
Here we don’t have to change anything for this quick demo.
We just go to the “Run” tab instead, and click the “Run” button.
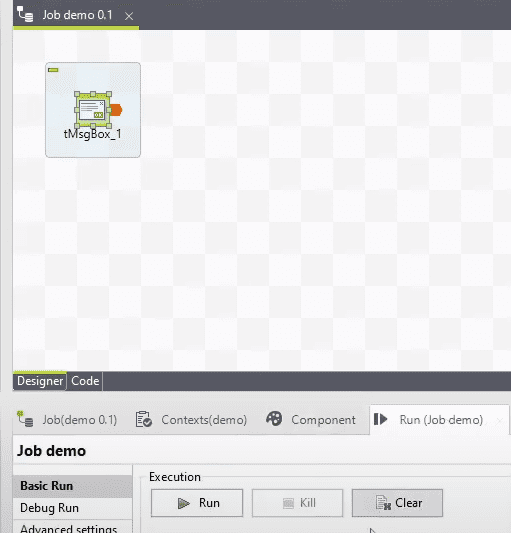
That worked very easy and nice.
Summary to install Talend on Windows
And that’s all we have to do to install Talend Open Studio installed on Windows.
So first we installed Java and 7-Zip. Then we downloaded the ZIP archive for Talend Open Studio, unpacked it, started the Windows executable, created a workspace folder, imported some extra libraries, and just finished creating a simple demo job.
That’s how to install Talend Open Studio 8.0.1 on Windows 10.
Learn More: Complete Talend Course
If you not only want to know how to install Talend Open Studio, go to my Udemy Course. This is a comprehensive training on using Talend to build data integration jobs, not only for Data Warehouses.
Video Version of this Article
Thank you for your attention and see you soon!
Read other articles.
